How to activate Noulek
Objective
Connect Noulek to your Noulek account or license so the plugin can validate your plan and unlock Knowledge Base, Search, and Chat features.
Before you start
You need WordPress admin access. For Connect existing license, you need a valid license key from your Noulek account.
Procedure
1. Open License settings
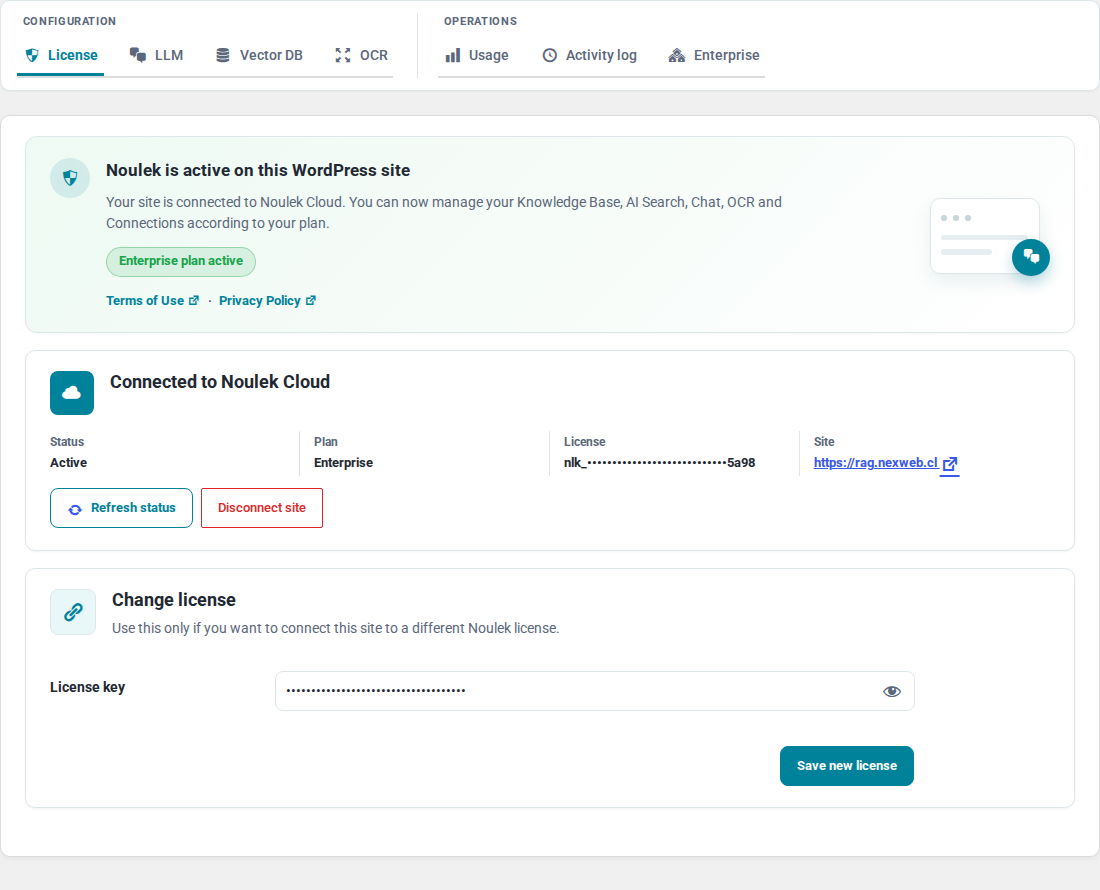
In the WordPress dashboard, go to Noulek AI → Settings and open the License section (or tab).
2. Choose an activation path
Noulek offers two paths on the License screen:
- Start with Free — Creates or links a Free plan for this site through the Noulek Customer Portal flow.
- Connect existing license — Enter a License key you already have and save the connection.
Use the option that matches your situation. Do not use both unless you are intentionally switching plans.
3. Start with Free
Click Start with Free. Noulek opens the Customer Portal (or onboarding URL) in a new window or redirects you to complete account setup and site registration.
When the flow completes, return to WordPress and click Refresh status on the License screen to confirm the site is connected.
4. Connect existing license
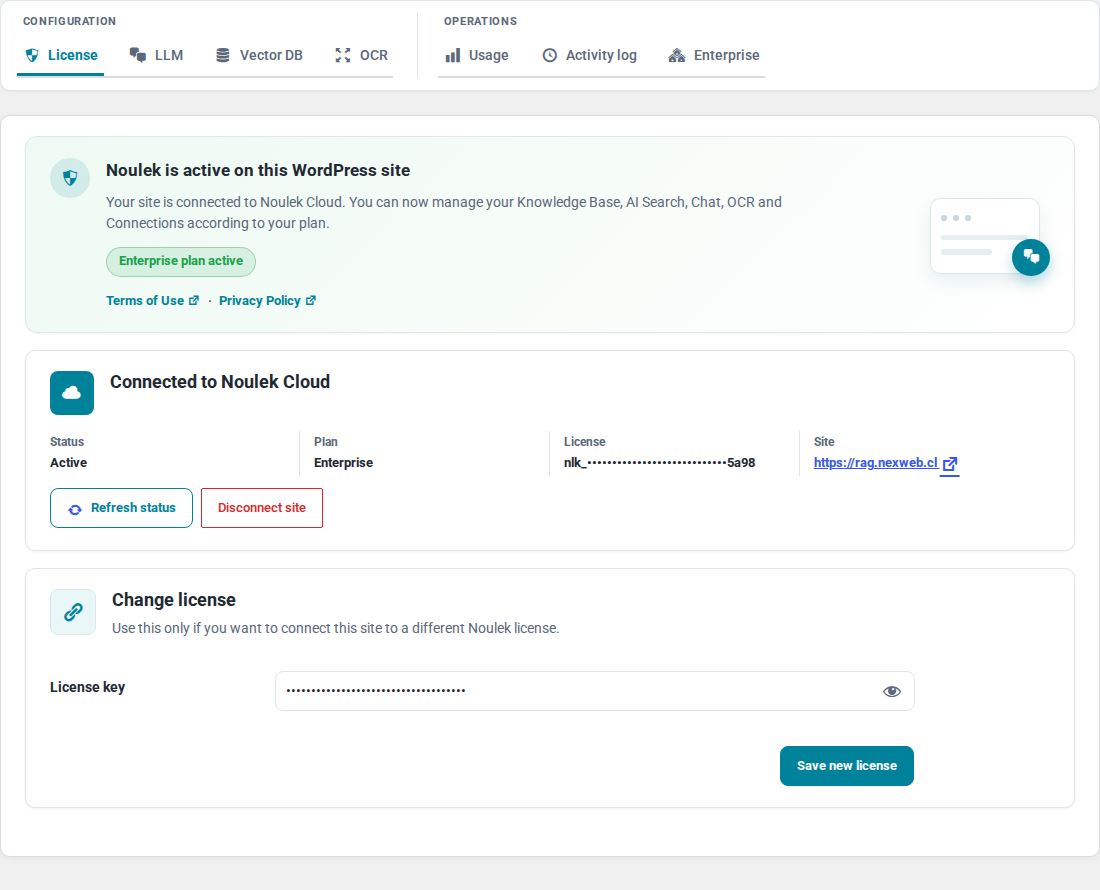
If you already have a license key:
- Select or expand Connect existing license.
- Paste your key into License key.
- Click Save connection.
- Click Refresh status to verify plan and site status.
5. Verify activation
A successful connection shows your plan (for example Free, Pro, or Enterprise) and an active site status. The Dashboard should no longer show license warnings blocking Knowledge Base uploads.
Expected result
License status is active in Settings → License, and you can proceed to configure LLM and Vector DB and upload documents to Knowledge Base.
If activation fails, check the error message on the License screen, confirm the key is correct, and ensure the site URL matches your Noulek account registration.